Showing posts with label IAR 211 [Visual Communications]. Show all posts
Showing posts with label IAR 211 [Visual Communications]. Show all posts
Saturday, April 17, 2010
Sunday, March 21, 2010
Studio Loft
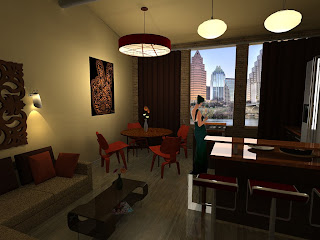
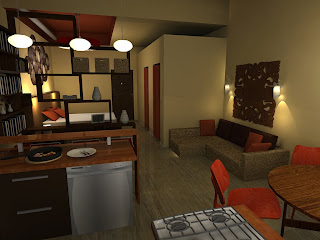
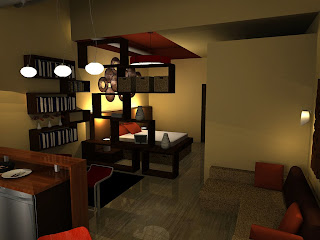
For design visualization we worked on polishing our sketch up skills. I had to take a basic loft apartment space and:
-build it
-furnish it
-create texture
-render it
-add finishing touches.
These are views from the finished process. Not only is it rendered but it has people and a backdrop added. I think I may like sketch up now?crazy.
Tuesday, February 2, 2010
Scene of Discourse [Final]

This is my final scene of discourse. I focused on aligning vanishing points and lines, portraying the words I was given, and creating a balance. I added a light white spot on the top right to balance out the dark black spot on the bottom right. I used muted and unsaturated colors to promote an industrial look with a melancholy feel. Overall I am very pleased with the look of it.
Thursday, January 28, 2010
Practice Makes Perfect
Scene Of Discourse
My first project in Visual Communications this semester works with utilizing photoshop. I had to combine 3 pictures into one to create a [scene] that reflected a mood and a descriptor. My mood was melancholy, and my descriptor was industrial. These are my first three iterations in the process. My favorite right now is the top image.


Wednesday, January 27, 2010
So Fast You'll Freak!
Tuesday, December 1, 2009
Parts To A Whole:Cabinetry Composition
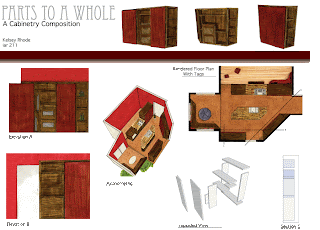 This is my final composition for visual communications 1. I compiled elevations, a floor plan, a section cut, an exploded view, and an axonometric together to create it. The section and the elevations have tags on the floor plan so it is easy to see where they are cut from. I decided to render some as well as keep some line drawings to add to the visual experience.
Tuesday, November 24, 2009
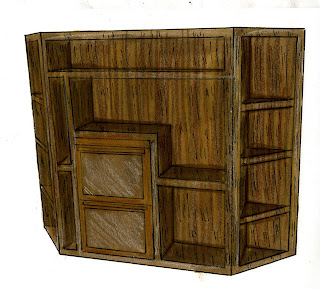
Cabinet Compilation: Case Piece
Cabinet Compilation: Floor Plan
Wednesday, November 18, 2009
Material Exploration


 This week I had to take the materials that are going into my studio kitchen project and recreate them by hand. For each material I zoomed in each time i drew it as well as changed the media I used each time. One was all pen, one was rendered, and one was pencil. I used full scale, 1/2, and 1/4. I think the most successful ones are the ones i did in pen as well as my rendered ones, The pencil drawings however did not turn out as descriptive as i would have wanted.
Thursday, November 12, 2009
CASE STUDY:composition
SYTYCD-logo
Thursday, November 5, 2009
SYTYCD-joint rewind
Wednesday, November 4, 2009
CASE STUDY:perspective
Thursday, October 29, 2009
CASE STUDY:rendered axonometric
Tuesday, October 27, 2009
CASE STUDY:rendered b&w axonometric
Thursday, October 22, 2009
yabba dabba dooo
Tuesday, October 20, 2009
CASE STUDY:axonometric
Thursday, October 15, 2009
Floor plan application
SCALE figure
Subscribe to:
Posts (Atom)


